
Do you want to make an ornament but feel like you’re not that crafty? Even a begginner (like me) can make this handmade star twine ornament so you definitely can! All you’ll need is to print off a star, make a cardboard cutout of it, and start gluing and wrapping twine. Don’t worry, there’s an order to it to make it look pretty! Follow along to make a few of these for your tree or to tie on a few of your Christmas gifts this year!
If you learn better by watching, scroll to the bottom to watch my 9 minute video making one of these. I think it helps you see how and when to turn the star after wrapping. It’s also easier to visualize wrapping the tips! If you make this, I’d LOVE to see your creations! Just tag me over on Instagram.
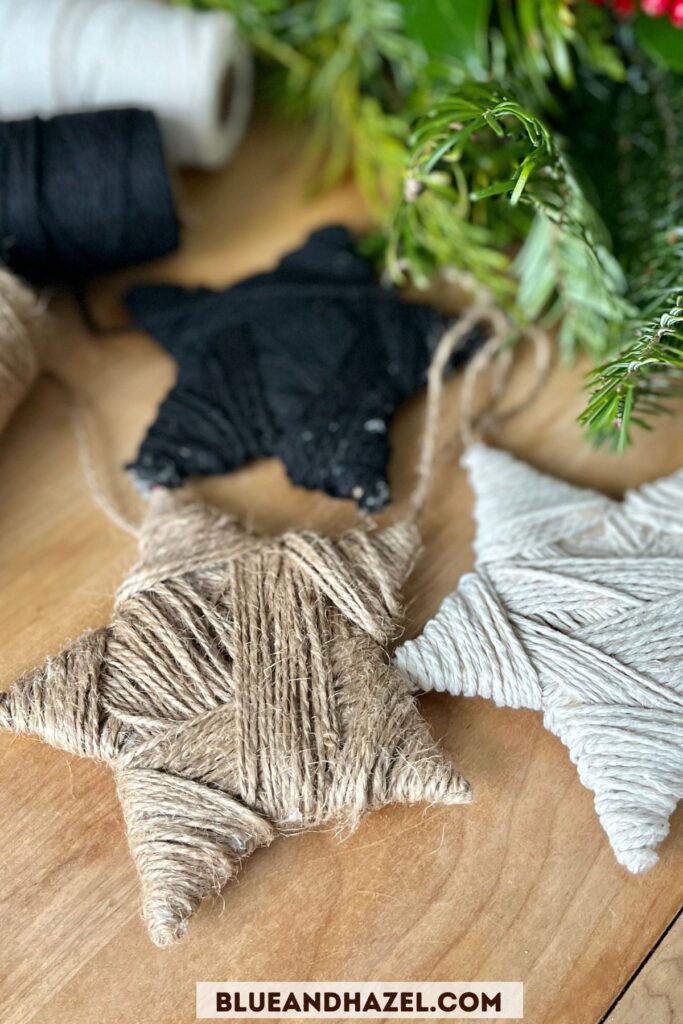
Materials
This ornament is super simple for materials, and you can use the twine for SO many other ornaments. You’ll need:
- Cotton Jute Twine (this is the variety 3 pack I have with black, white-ish, and tan):
- Glue gun: (I have a mini, but any size would do)
- Gorilla Glue mini sticks


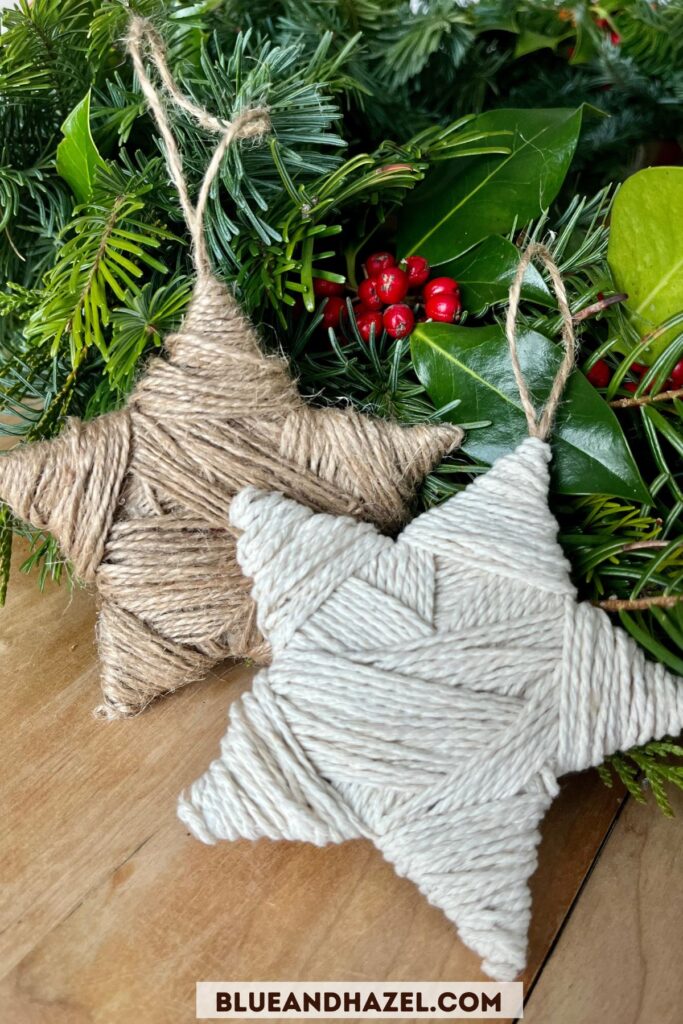
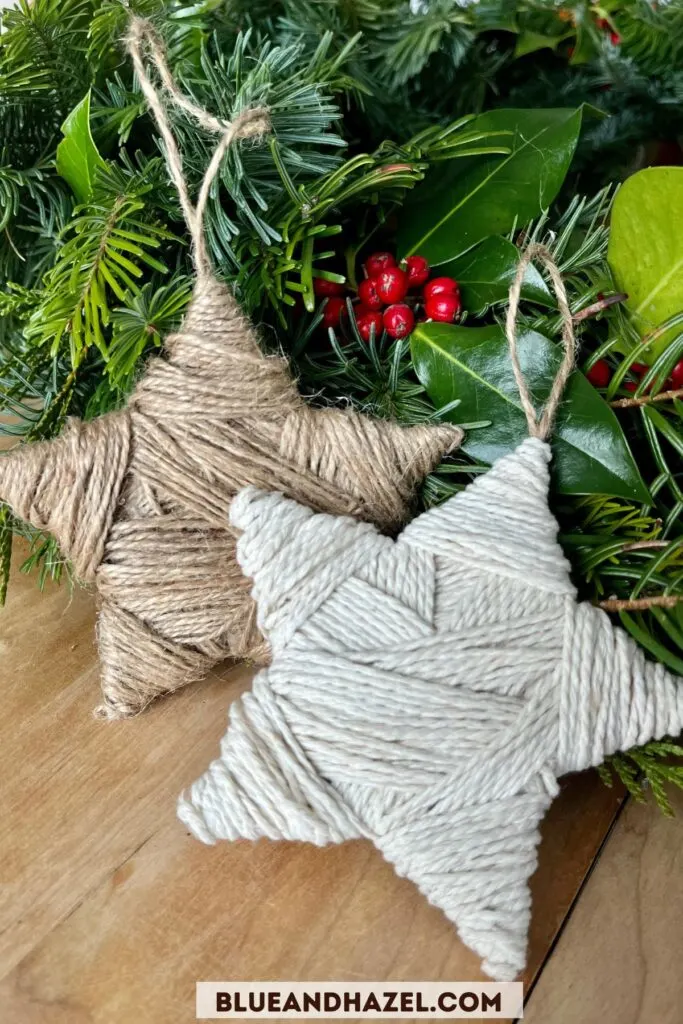
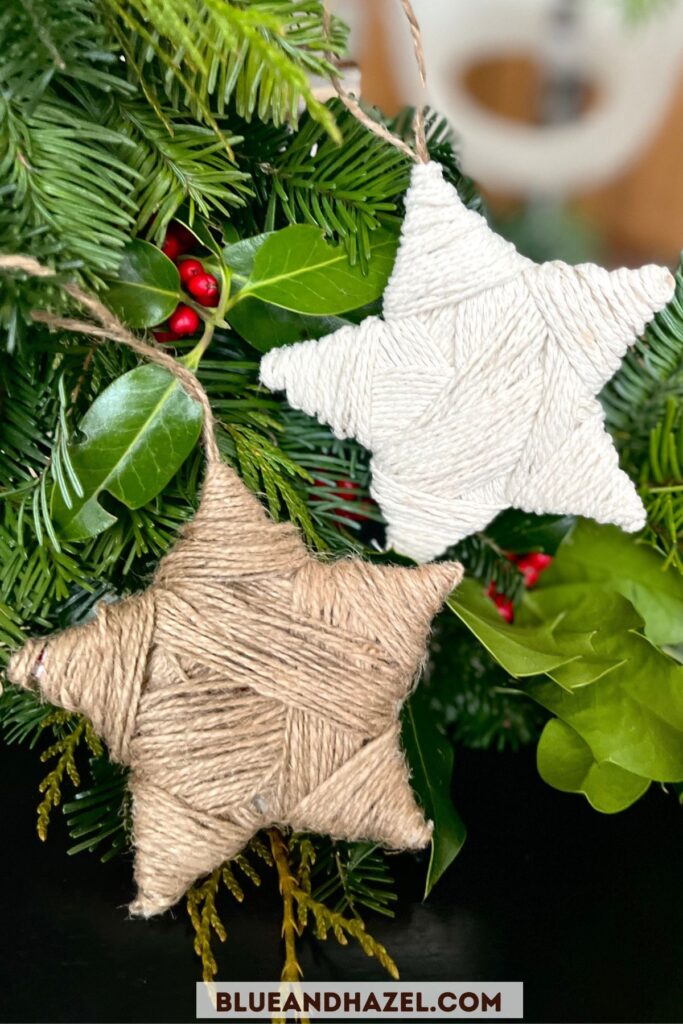
What’s the best color of twine on the tree?
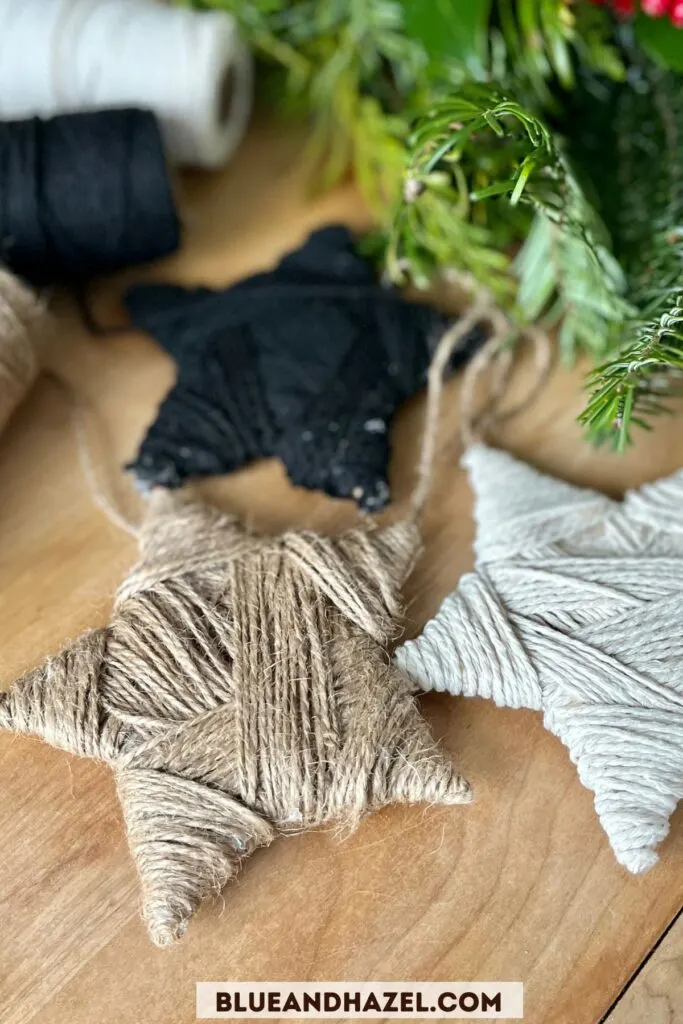
I think the color that looks most stunning on the tree is the white colored twine, and it’s gorgeous with the natural mixed in with it.
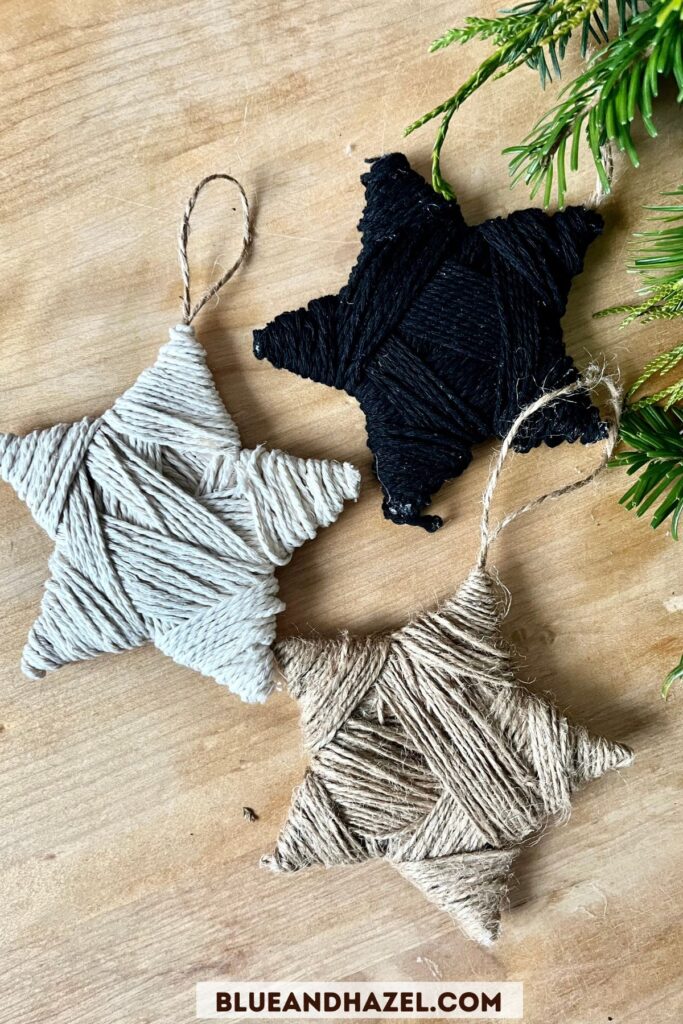
We also made a black twine star and it was not stellar. It didn’t stand out against the green tree, and it also looked messy and sloppy compared to the others.
I think this is because the dried hot glue shows up and some of the hot glue inevitably gets on the twine. When it dries on natural or white…you can’t tell. But on black you can, so I’d skip that color personally.

How to make a cotton twine star ornament
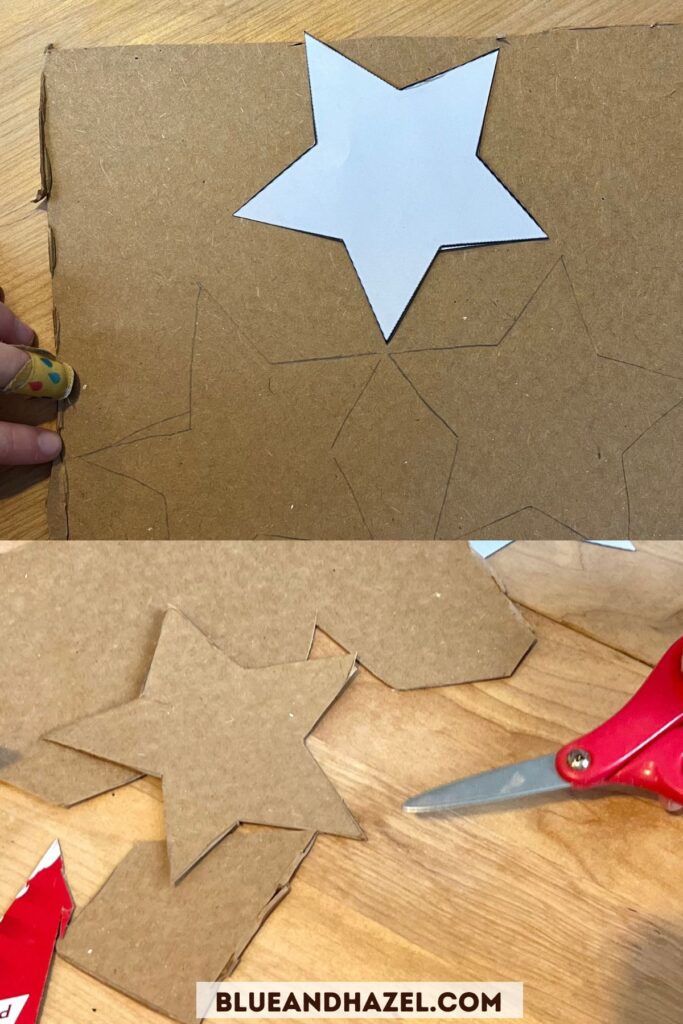
Step 1: Print off a star and trace it onto cardboard.
The first thing I did (because I cannot for the life of me draw a symmetrical star), was to print off a star the size of the ornament I wanted to make.
Cut out the white star, trace around it on a cardboard cereal box or thicker cardboard would be fine too.

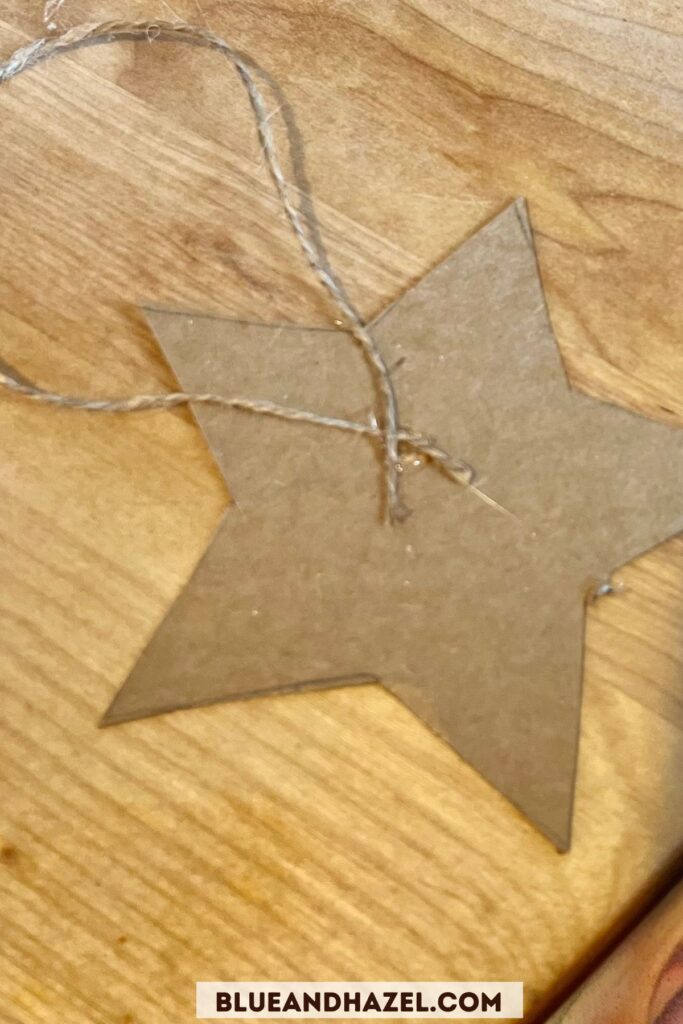
Step 2: Hot glue twine onto the cardboard star so it can hang on the tree.
Just estimate the length by holding twine up to the star. Make a loop with the ends to they cross, and hot glue them on, like below.

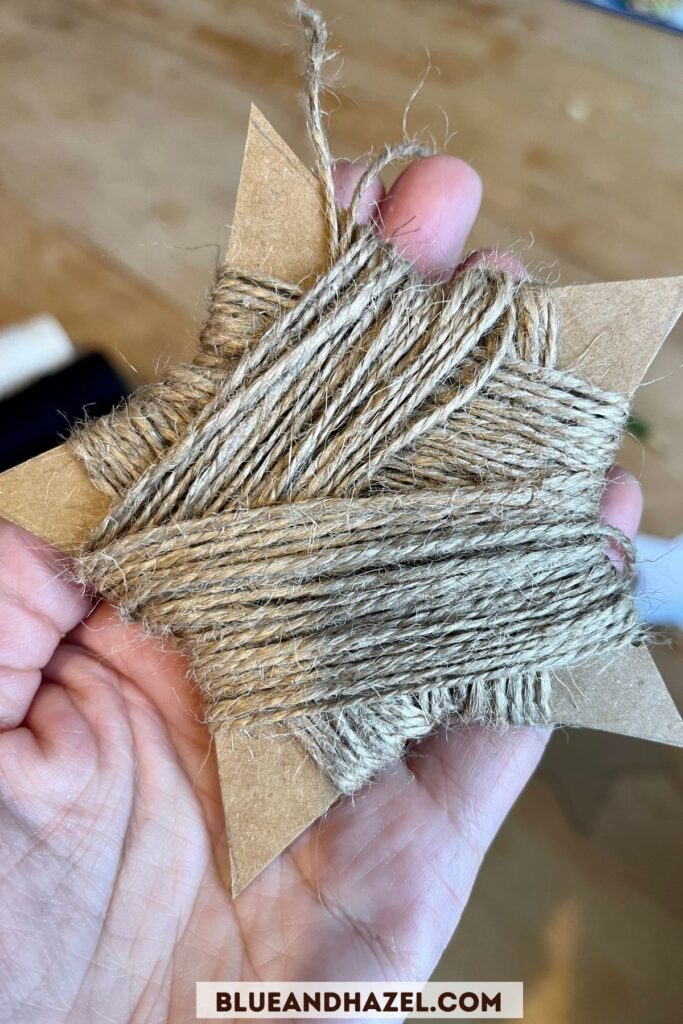
Step 3: Begin wrapping your star with twine.
This part is the most confusing if you’ve never made one of these before, so be sure to watch the video at the bottom of this post if you want a better visual!
But the idea is that you’ll hot glue one end of the twine to the middle of the cardboard, and start wrapping from one of the inner facing angles to the one below it.
Wrap, wrap, and wrap some more. You can’t really over wrap it…just slowly go from the middle to the edge where the two points meet. (See pic below).
Once you’ve wrapped enough, turn it slightly and start wrapping from inner point to inner point. You’ll do this a total of 5 times.
The more you wrap, the thicker your star will turn out, and the less likely you are to see any cardboard showing.
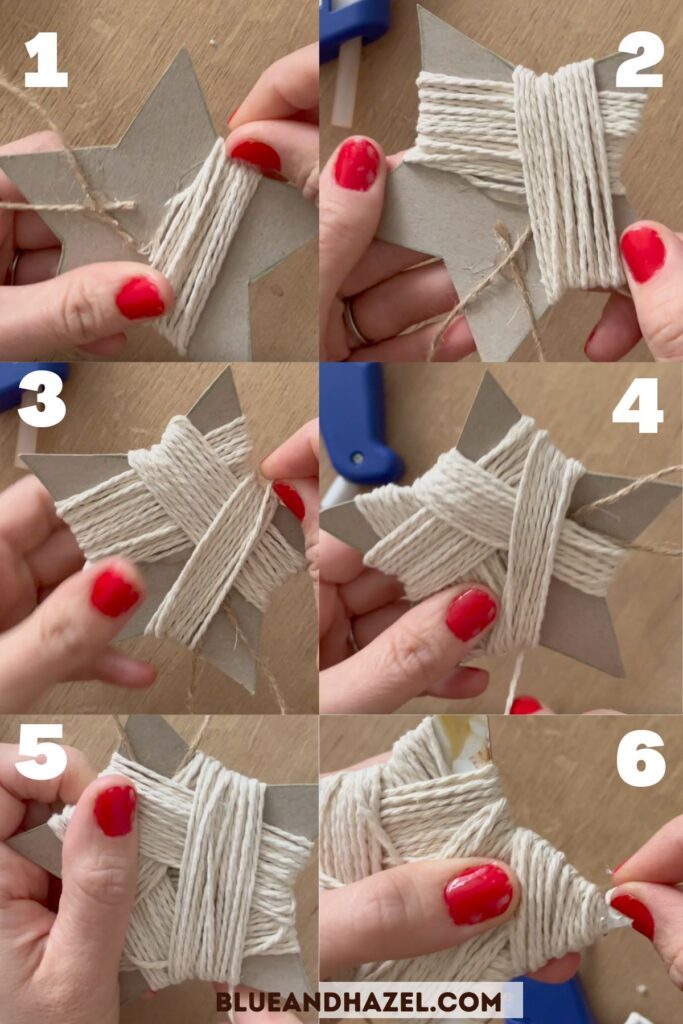

Hot glue the end on when you are ready to be done with the center. However, If there’s any area of the middle showing cardboard, put some glue on that area first and wrap some string over it a few times.
Now you are ready to do the tips!

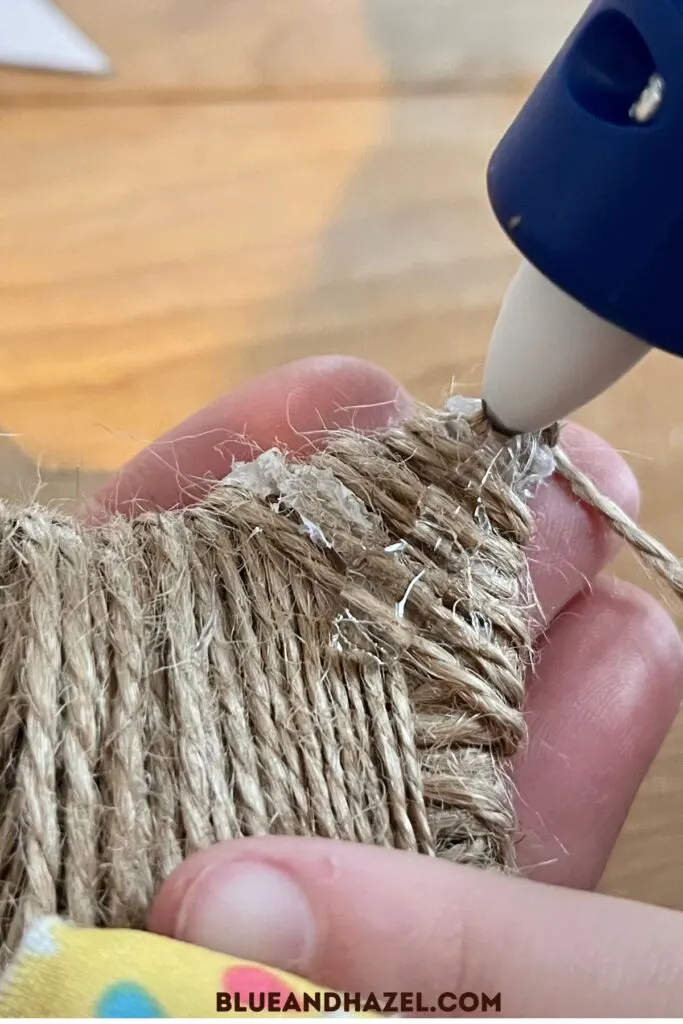
How to wrap the star tips
I think the tips take a little practice, but make it look great!
Biggest tip…use more glue than you think. I had to re-glue some of my first stars because I didn’t use enough glue and the tips began to unravel/slide off.
Start around the widest part of any one of the star points, and work toward the tip. Wrap a few layers over itself so you can’t see any cardboard. It’s fine to go all the way to the tip, and back out (use more glue if you do this). But end by gluing the tip as that will completely cover the cardboard.

You can unravel the twine on the tip and retry if it’s not working.
If you start and the tip isn’t working out, just unravel it and try again. I did this a few times and the half dried glue on the twine actually made it stick even better the second time.
I recommend adding glue to the whole tip, and even thing sides of the cardboard on the tip. And even possibly some glue on the first layer of twine as you wrap several layers thick.
Do this to all 5 tips and wa-la! You have a beautiful twine wrapped Christmas star to hang on the tree or gift to someone else. Scroll to the bottom video to see me make one!

More Christmas inspired posts
- Christmas on a small budget with kids
- How to sew a burlap Christmas stocking
- DIY burlap bag Advent calendar
- Making Advent special with kids when you feel like you’re not doing enough