
I think my new favorite Christmas decoration is a beautiful dried orange garland. I will teach you how to dry orange slices in the oven, and a few things not to do I’ve learned along the way.
We made our first a few years ago, and when carefully packaged it lasted us two full years. I tried to use it again for a 3rd year but too many pieces were breaking in half and the orange color had darkened so much it didn’t look beautiful anymore. So we made two new batches this year.
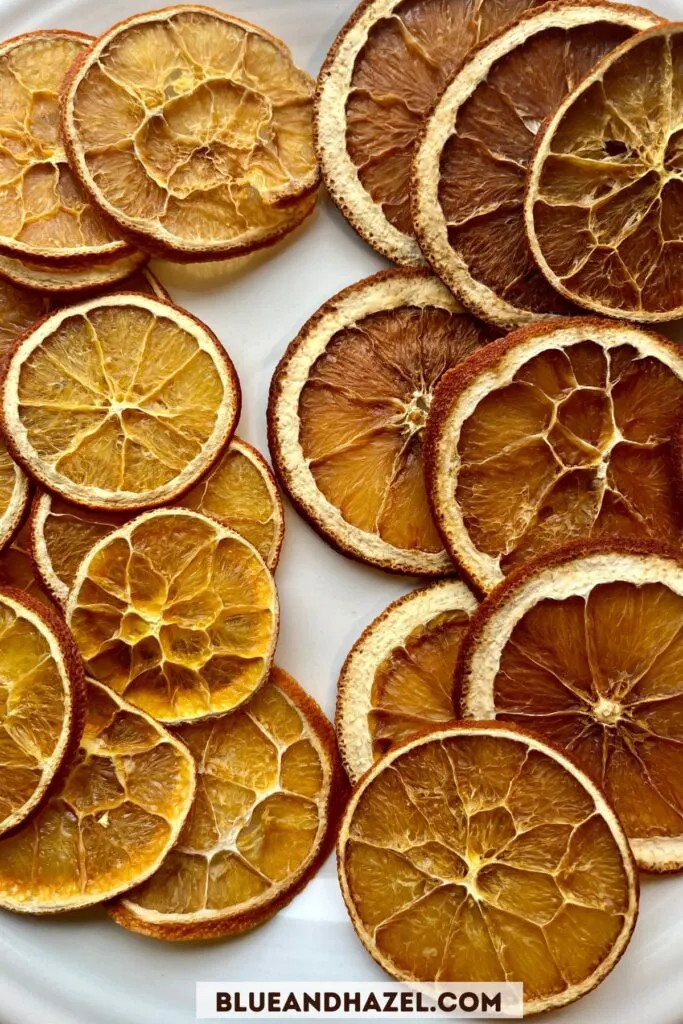
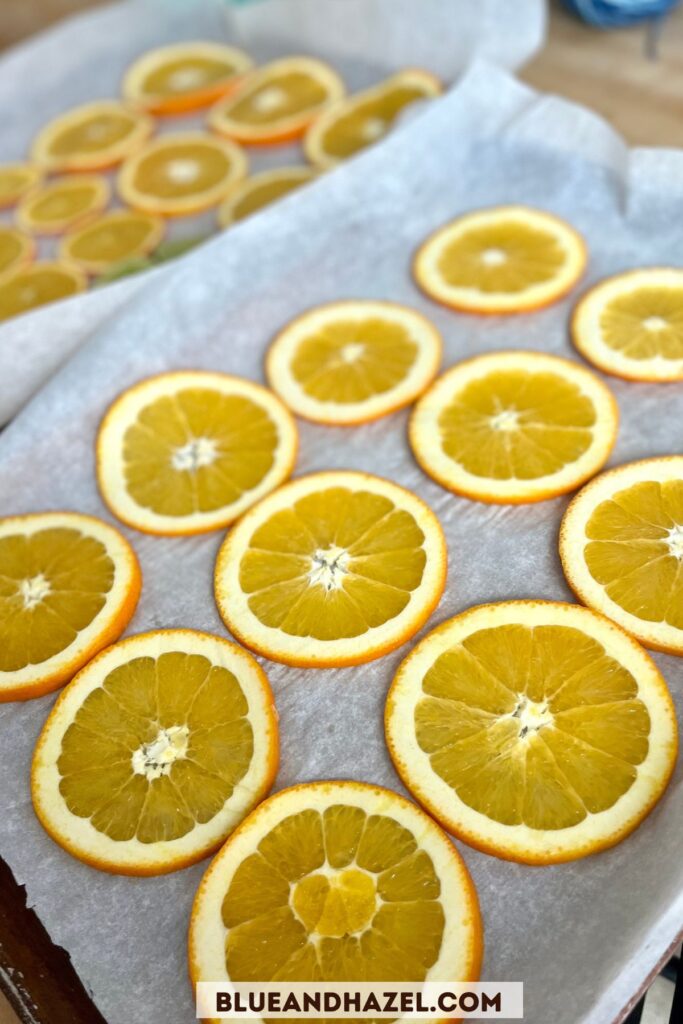
The first batch I forgot the VERY important step of drying out each slice with a paper towel before baking, which added on hours and created a darker orange slice. The second batch cooked up in about 6 hours at 170 degrees Fahrenheit and had a much brighter orange color (using the same batch of oranges just less cooking time).
You can see both batches below….so don’t forget to pat dry those juicy orange slices before baking!

Supplies needed to make a dried orange garland
- Oranges, any variety.
- Oven, or food dehydrator
- Waxed floss for the garland
- A sewing needle

What’s better for drying oranges, an oven or food dehydrator?
If you have the option of using or borrowing a food dehydrator, it will make the most bright oranges and cut your dry time in about half.
Food dehydrators can get a much lower temp (around 130 degrees) and dry evenly on both sides of the orange. Less heat means less browning leaving you with a brighter orange colored dried slice.
With that being said, your oven will still get you some beautiful orange slices! Most people seem to dry theirs in the oven at 200 degrees Fahrenheit, which is usually as low as an oven will go. My oven went down to 170 degrees, so I took advantage of that even though it probably lengthened cook time compared to drying at 200.
Using an oven also means flipping the orange slices every hour for an even dry, which you don’t have to do in a food dehydrator.

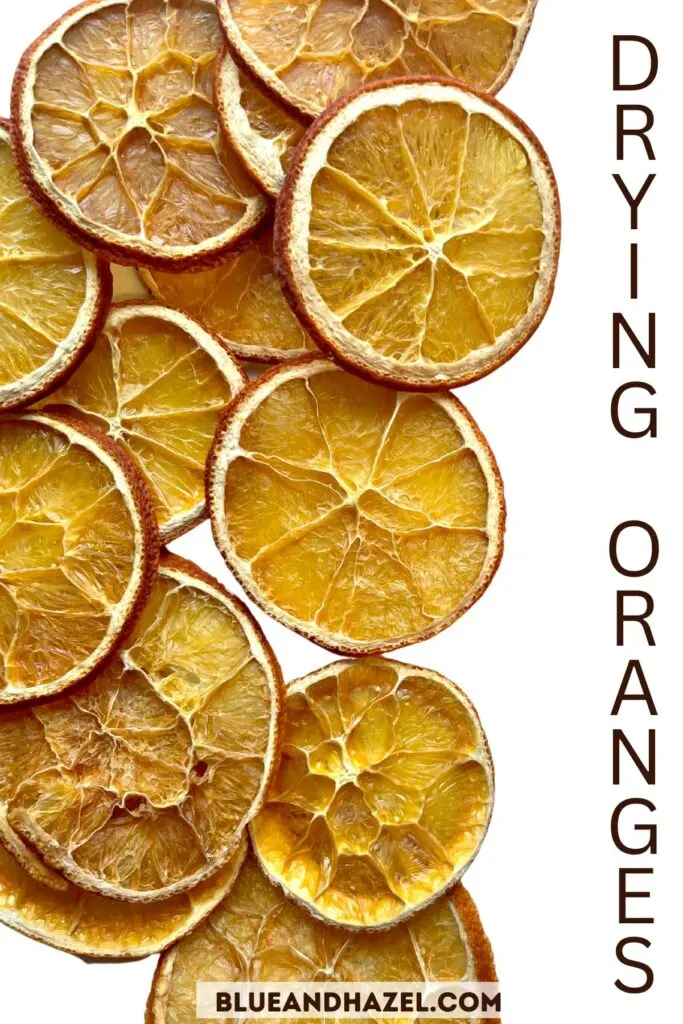
How To Dry Orange Slices In The Oven
This process is pretty simple. It involves slicing oranges, patting them dry, drying them in the oven on parchment paper and a cookie sheet, and flipping each hour till they are dry. Scroll down for details on each step with photos.
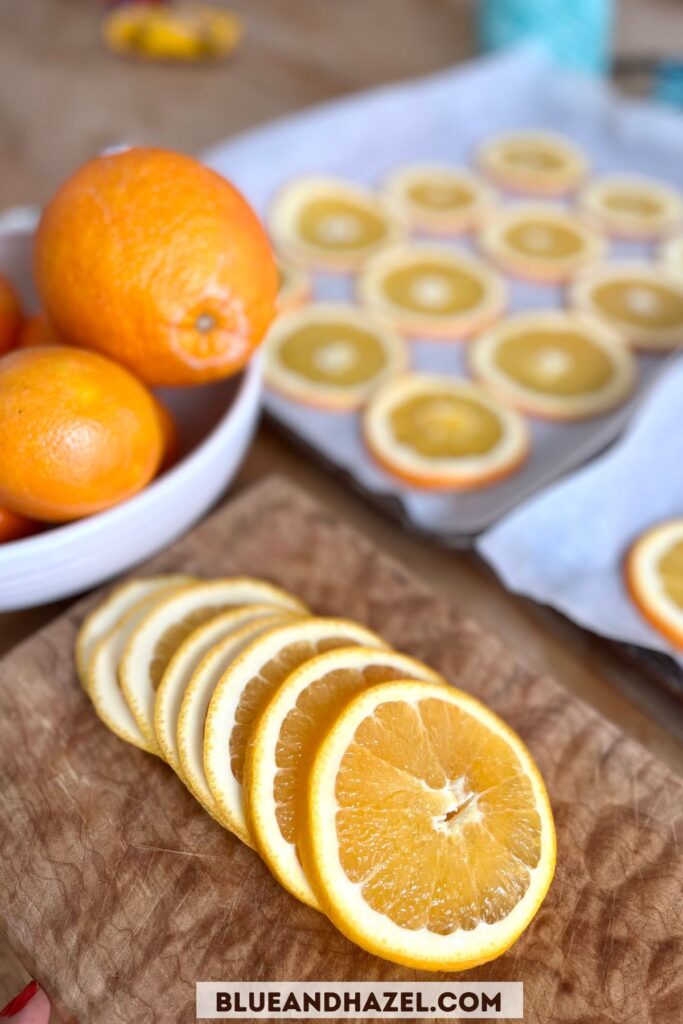
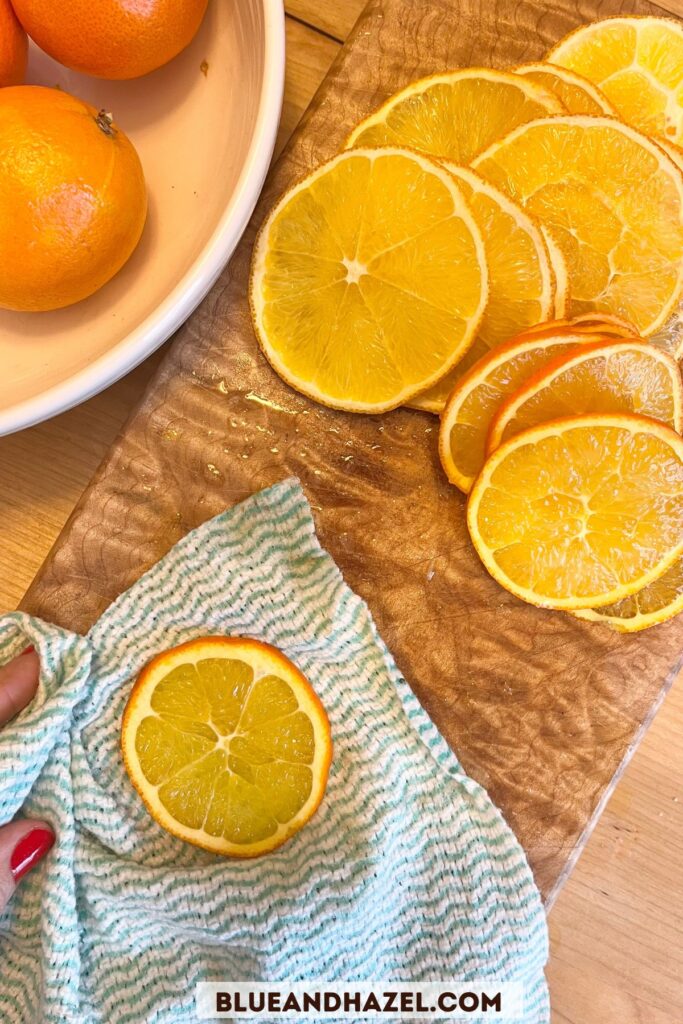
1. Thinly (and evenly) slice your oranges
You’ll need to thinly (and evenly) slice your oranges. I don’t dry the end pieces.

2. Pat each piece dry with a paper towel
Then, you’ll want to pat each orange slice on both sides with a paper towel to soak up any juice. This will dramatically cut down your bake time and will leave you with a brighter orange color.
I love these reusable paper towels from Force of Nature. You can see it in the photo below but they soak up liquid like a paper towel and can be rinsed and machine washed.

3. Lay them on a parchment paper lined cookie sheet
Then, you’ll lay them out on a cookie sheet lined with parchment paper. This will make flipping them much easier as the juice can dry kind of sticky.

4. Flip orange slices every hour
Set your oven as low as it will go (I used 170, but 200 is fine) and place the oranges inside. Flip them every hour, for 4-6 hours or until they are no longer sticky and ideally before they begin to turn too brown.
The thinner you slice them, the quicker they’ll dry.
5. Testing for doneness
If you notice they are mostly dry, increase the frequency you check them.
Just as you’d check on a cookie that is almost done, you’ll want to check on your almost done oranges at the end to make sure your hard work doesn’t burn. A lot of undesirable browning can happen right at the end which is only avoidable if you check on them more frequently.
You don’t want any juicy spots, or super squishy areas. But it’s fine if they are slightly sticky. You may also notice that your thinner slices seem to be getting too dark (time to come out) and the thicker pieces need more time.
I also ran into the problem. Some slices that had to be tossed because they were really unevenly sliced so half the slice was browning while the thicker half was still squishy. So cut each slice as evenly as possible!
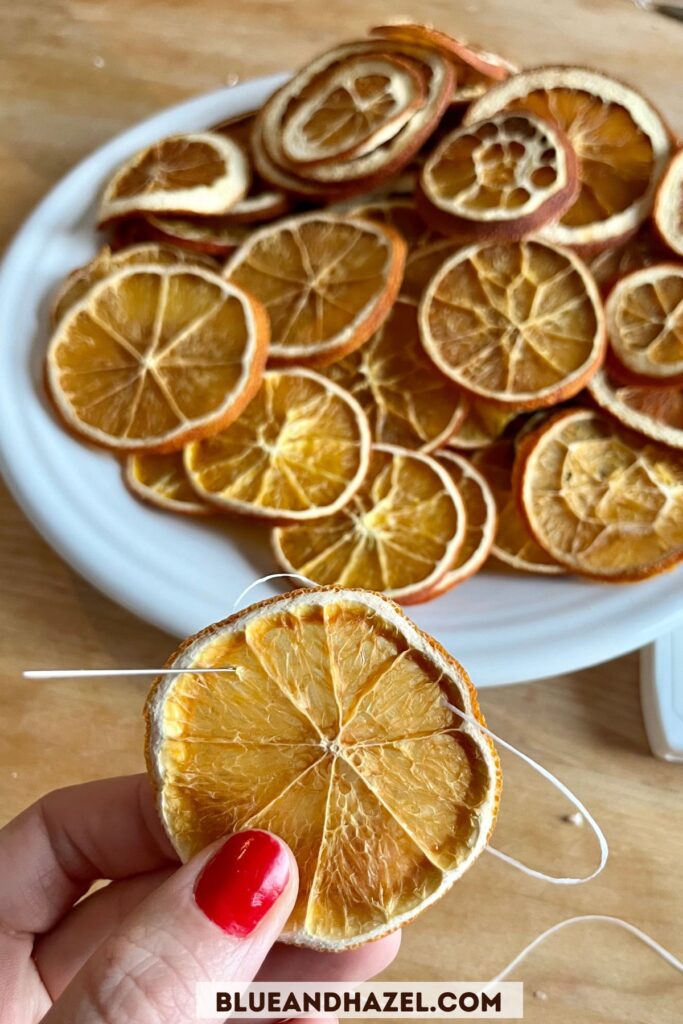
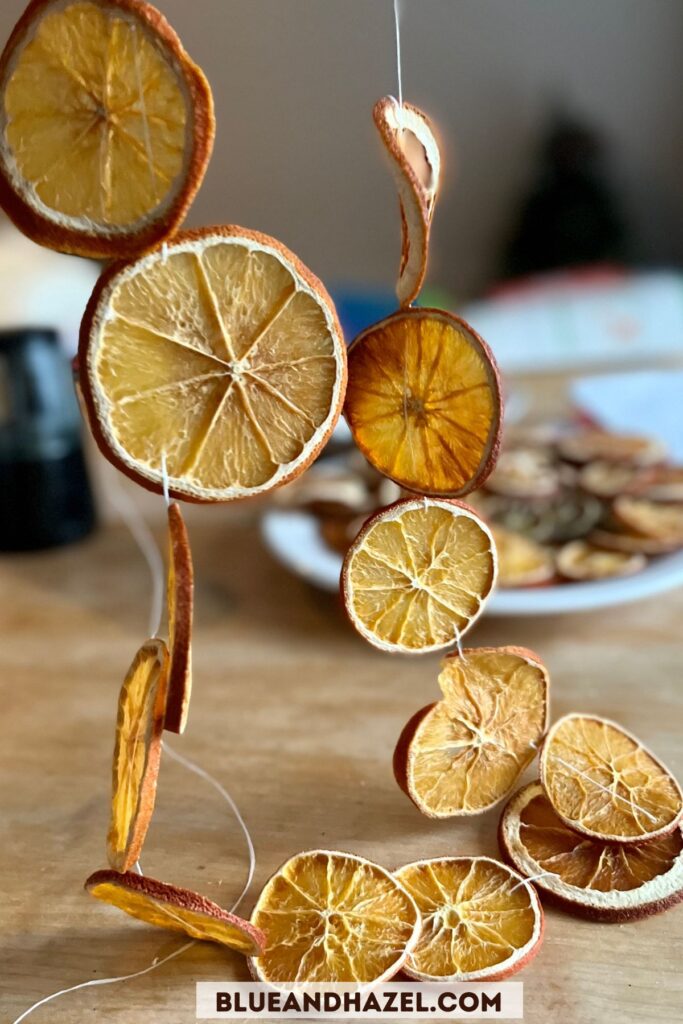
How to turn your dry orange slices into a garland
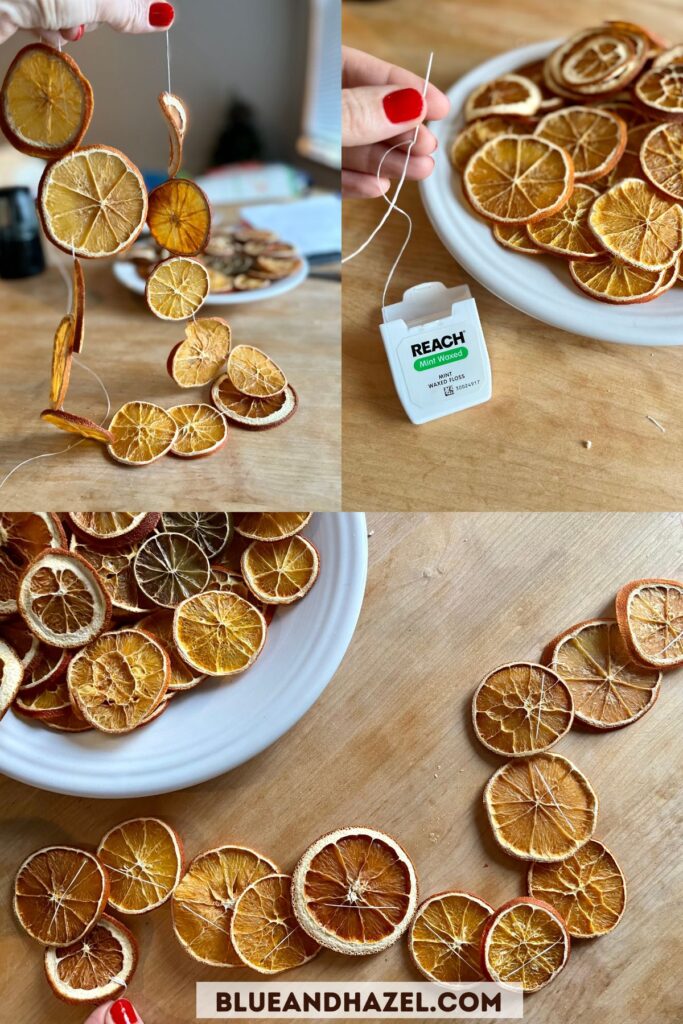
All we used was waxed floss and a sewing needle.

Tie the floss onto your needle
I tied a knot onto the needle so it wouldn’t come undone, and left the other end attached to the floss roll. (This makes it easy to add a longer garland if you need later on).
Sew down and up onto each orange slice
Then, pick an orange slice and poke the needle and floss through the front of the orange (close to the edge). Now your needle is on the back side of the orange and needs poked through to the front.
See my photo below for an example.
I like to go in and out a little bit above the midline of the orange, not directly on the “equator” of the orange. This seemed to make for easier placement and nestling on the garland.

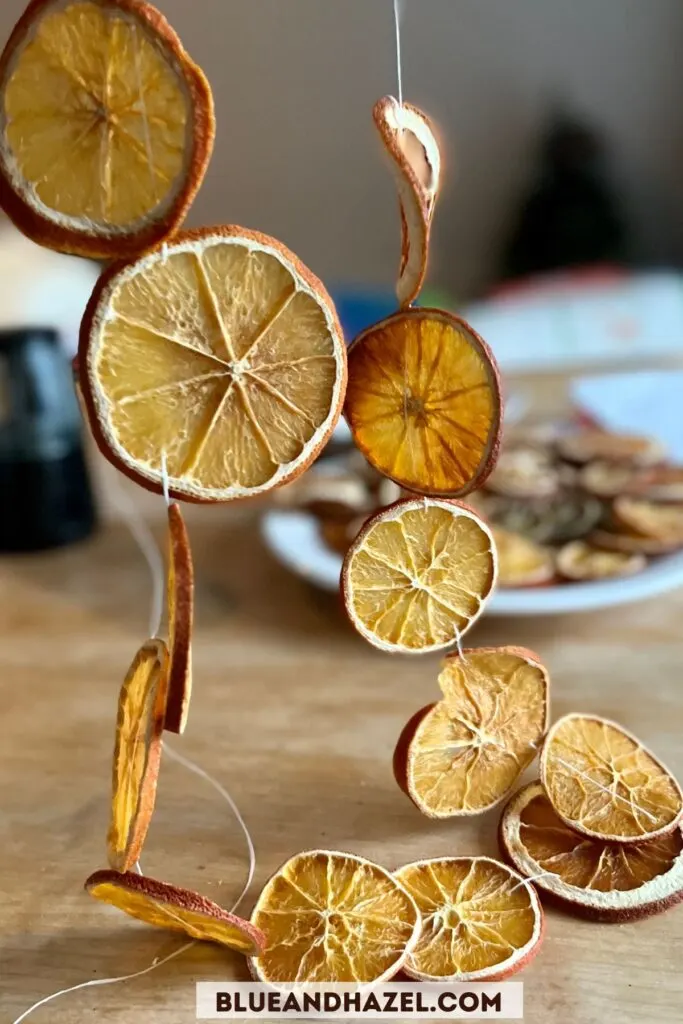
Pull the orange slice down the floss
With each slice you add, pull it town a ways on the floss. I ended up slowly pushing the pieces down as I added more. That meant that when there were 10 on there, I was sliding 10 slices further down to make room for 10 more, if that makes sense.
The wax floss is strong and it’s easy to pull the oranges on it to adjust them!
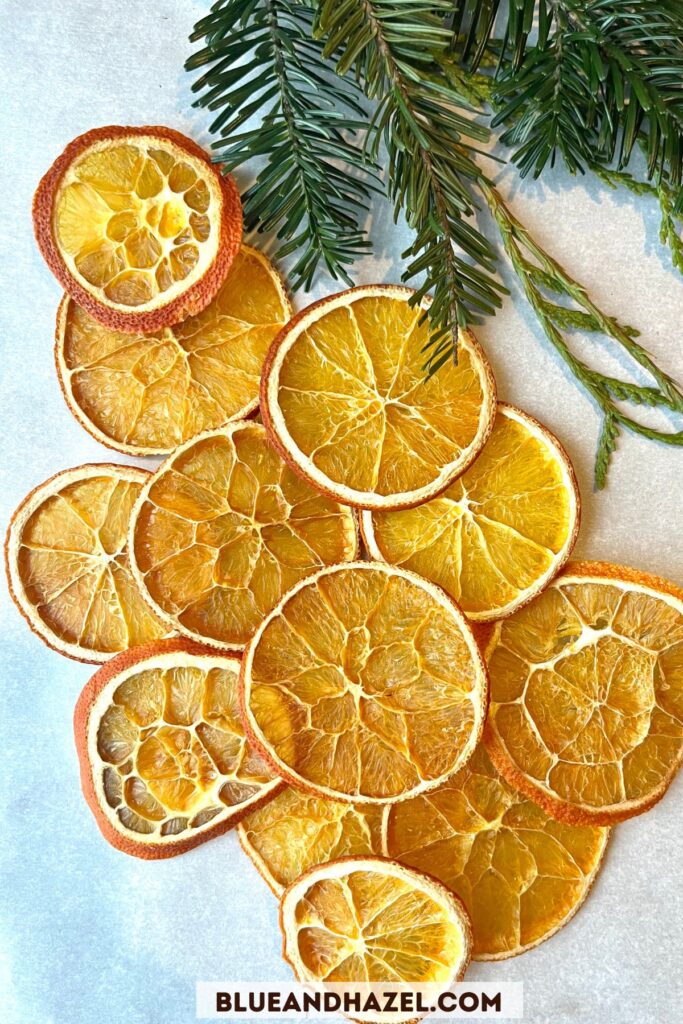
Ways to use your dried orange slices
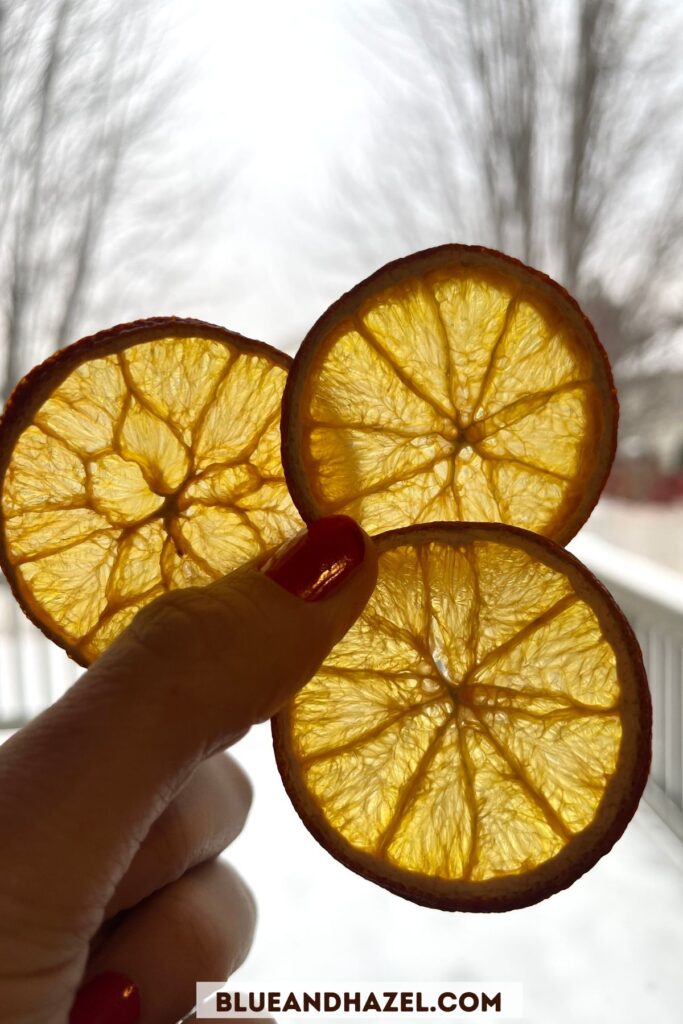

Window garland
The warm color from these spruces up any room, but they are incredible in front of a window. I made a garland for our kitchen and enjoyed every single time i did dishes!


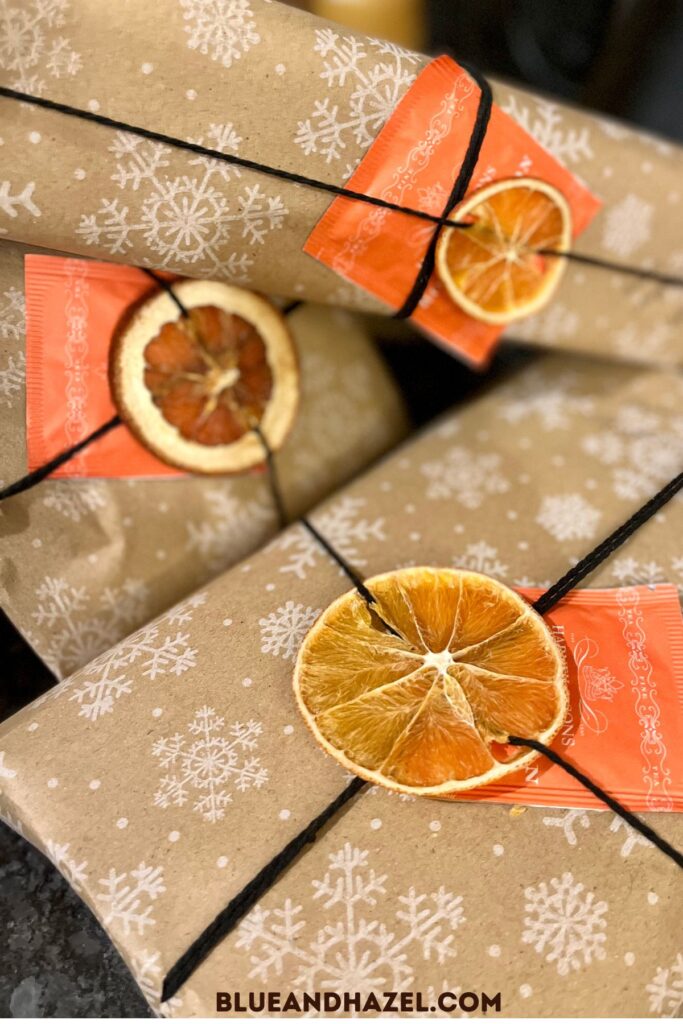
Gift wrapping
Put them on any gift you wrap! I thread string through ours by poking holes, but you can also hot glue these on or put them on with some pine!

- Christmas ornaments
- Add it onto a wreath
- Table centerpiece
- Decorate a cake! Here is a vanilla orange cake decorated with fresh slices, but dried would be beautiful too!
Can you dry the orange slices directly on your oven rack without a cookie sheet?
Technically you can so long as the oranges don’t fall through. This would theoretically let them dry more quickly and evenly because air is drying out both sides.
Down side? I watched a YouTube video of someone who did this and she said it left dark lines on the oranges where the metal touched them. That makes sense, since those areas would get hotter and the sugar in the orange could burn and brown.