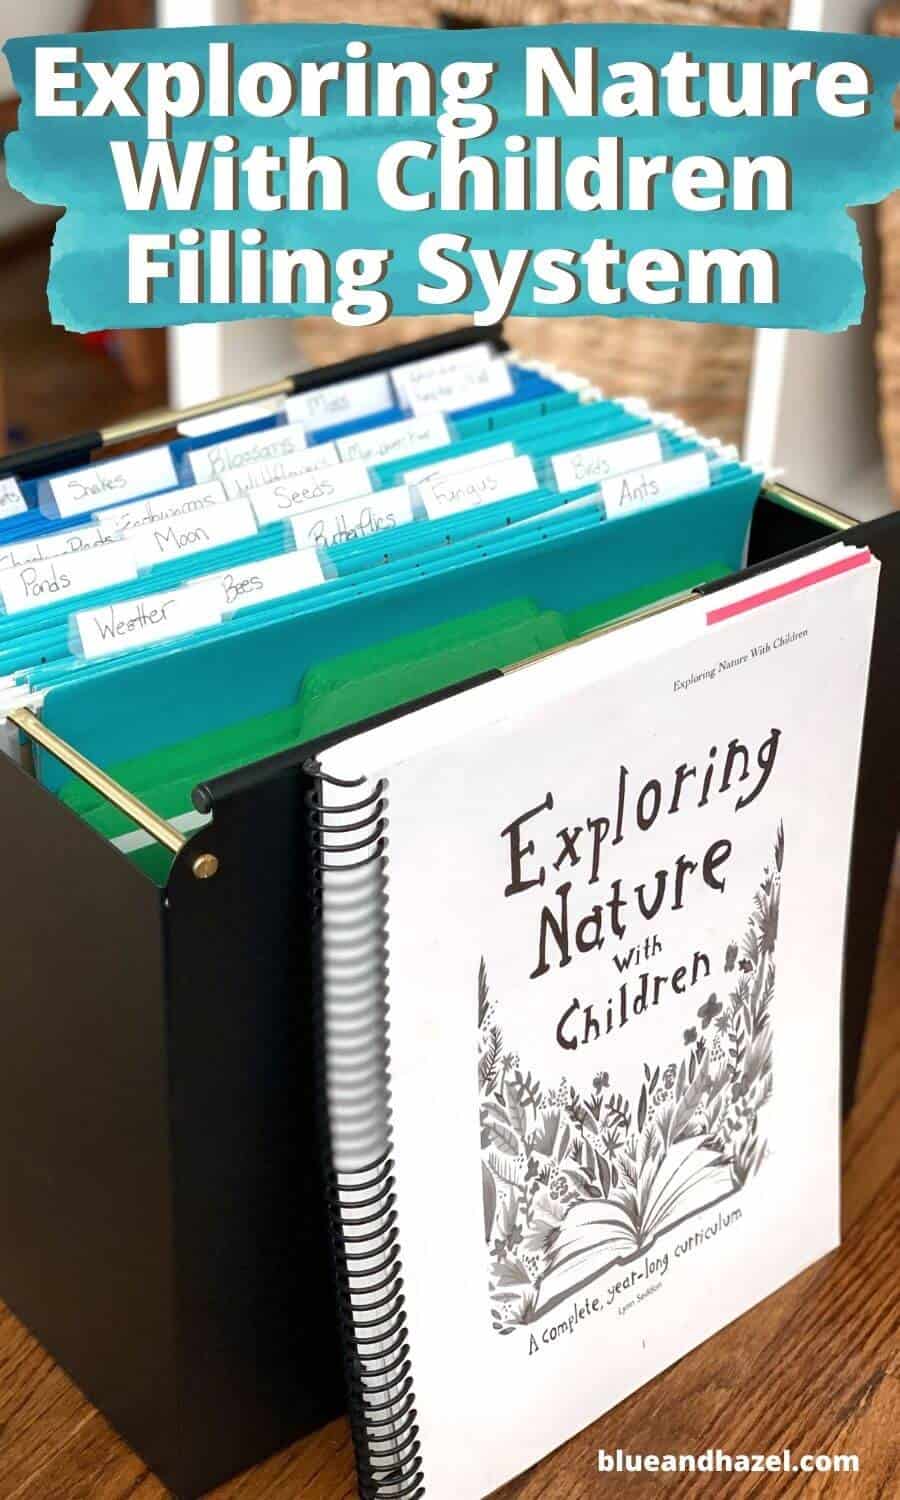
Nature study has become a regular part of our homeschool, and it’s been so awesome! Here’s how we set up an easy filing system to store printables that compliment how we use Exploring Nature With Children curriculum!
You can easily make this to keep yourself organized. Plus, you can use all your print outs next year which saves you time, paper, and did I say time??!!
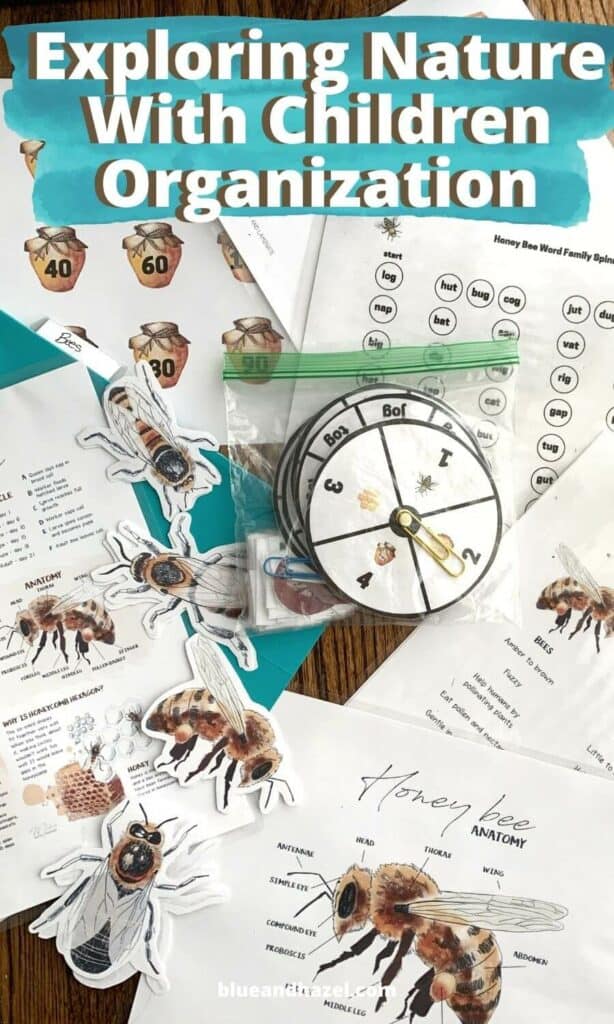
While the curriculum is usable on it’s own, I’m a sucker for some of the beautiful nature print outs I’ve found on Etsy that compliment it. Things like the frog lifecycle, honeybee activities, nature word searches, bird fact cards, etc.
After printing a few things, I quickly saw I had no place to put them and I do NOT like paper clutter one bit!
While you don’t have to print anything (nature walks, the library, and google could be sufficient), I find my kids and I really like pictures! Ready to see how it’s done?
More homeschool posts to enjoy
- How to record homeschool activities you actually do: Homeschool Organization Series Part 3
- How to Homeschool Preschool: Getting Started
- Our 1st Grade and Kindergarten Curriculum Choices 2020-2021
- How much it cost us to homeschool kindergarten
- Our Relaxed Homeschool Kindergarten Schedule
Why you need a filing system for nature study print outs
One of the first things I noticed once we began to find nature printables was that my desk was filling up! I had these little piles of prints on bees, moon phases, pond life, etc from an Instagram bundle of Etsy print outs and no where to set them.
I needed ONE spot to keep our printables organized by topic. That way, I could add to them as I wanted, and easily find it year after year. Not to mention I thought that it would save me a TON of time to following year if I didn’t have to find, print, and cut out a lot of these resources ever again.
We already have a crate filing system for storing all our yearly curriculum by week, but I wanted something JUST for nature printables.
I felt like I was OK putting forward the work to print and cut resources ONCE, but I couldn’t put the effort up year after year. I had to make these reusable. Which meant making a filing system.
Supplies you’ll need to organize your nature study activities
My solution was this pretty black metal filing box we found at Target that can sit under my desk and a pack of these teal hanging file folders to go inside. The folders hang so nicely, and I can quickly see all the labels for our nature topic.
It looks so chic anywhere we take it to the house (opposed to a clunky plastic hanging file system like I store my homeschool records in).
That’s it, once you have those two things, all you’ll need to do is label the unit study topics you have print outs for!
How I’ve labeled my nature study files
So first off, I labeled my folders little by little *mostly* as I found print outs for them. But I tried to stick with topics that are in Exploring Nature With Children.
If you’re not familiar, here’s a few of the topics covered, and a lot repeat through the seasons so you can note changes.
- Minibeasts (bugs)
- Butterflys
- Tree study (fall, winter, and spring)
- Leaves
- Bees
- Harvest Moon
- Pond Study (fall, winter, and spring)
- Weather
- Birds
- Nests
- Christmas Plants
- Fungi
- Moss
- Lichen
- Plant Life Cycle
- Evergreens
- Wildflowers
- And more!
You can organize your file system for ANY unit study
One thing I found is that we have a few mini unit studies on topics not covered in Exploring Nature With Children. I just added those topics to my filing system, because they are nature related and so it made sense to put them together.
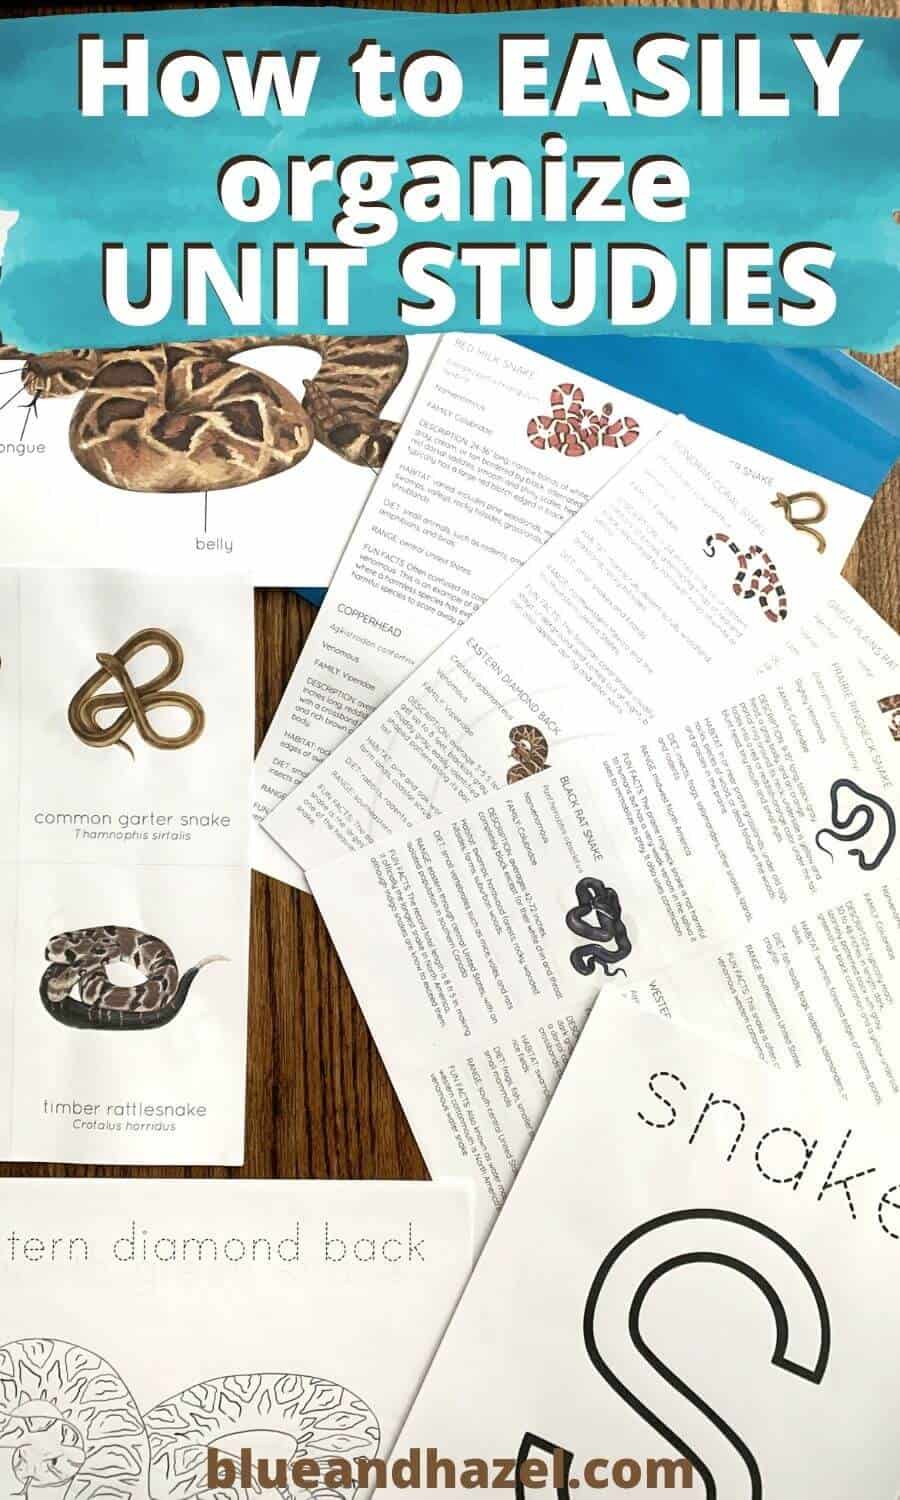
For example, I’ve found cute games and print outs for a space unit study, and also a really neat Snake study which I want to do because we live in an area with a LOT of poisonous snakes.
Below is a peek at what I keep inside of our file called “snakes”.
What’s inside of a few of our nature study folders
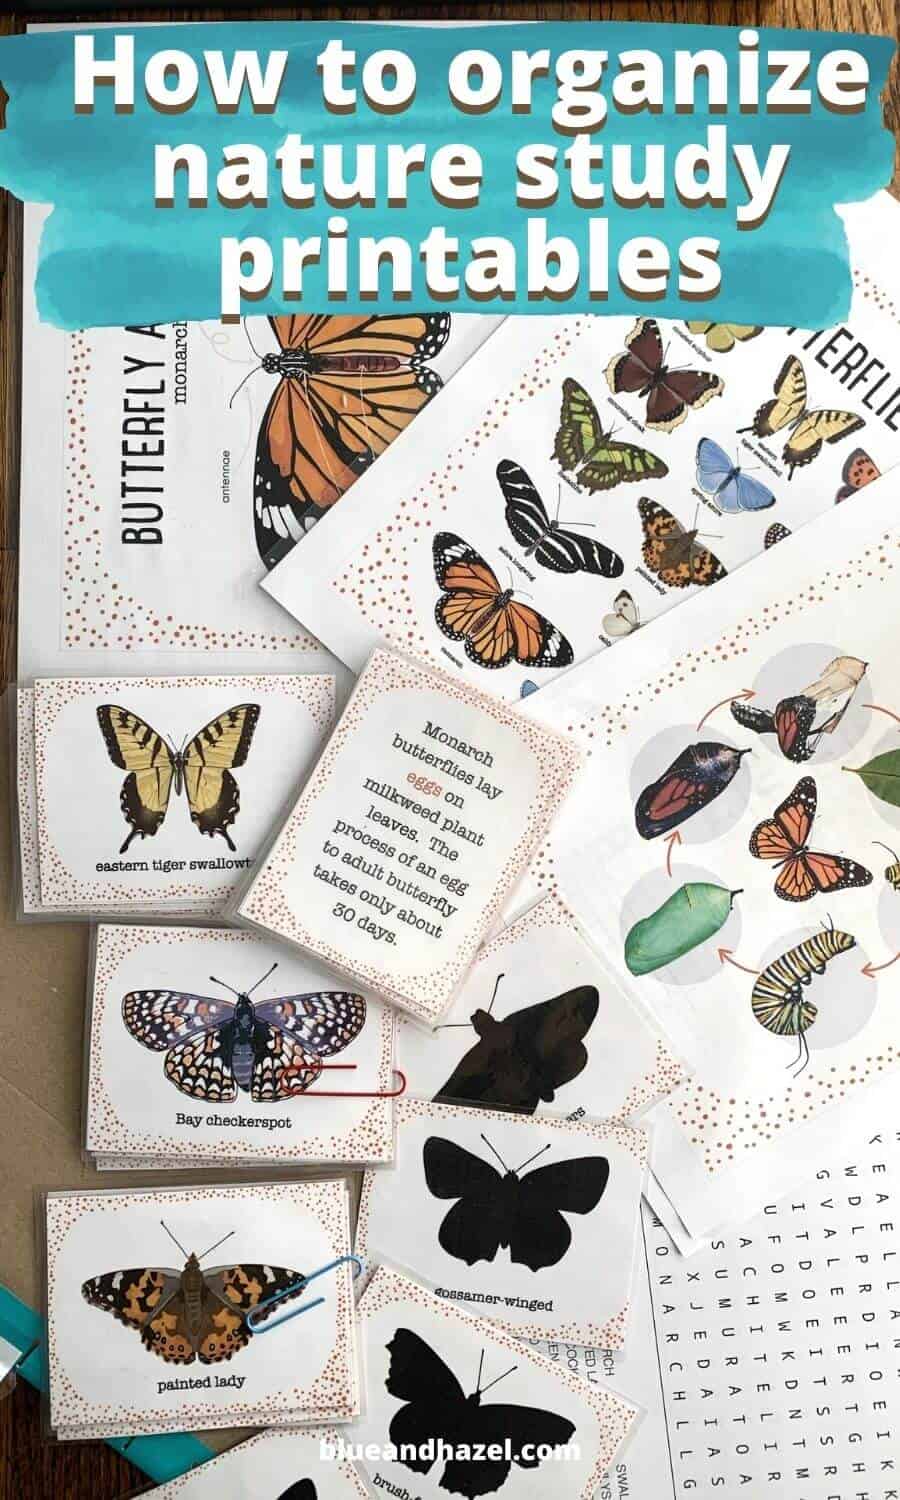
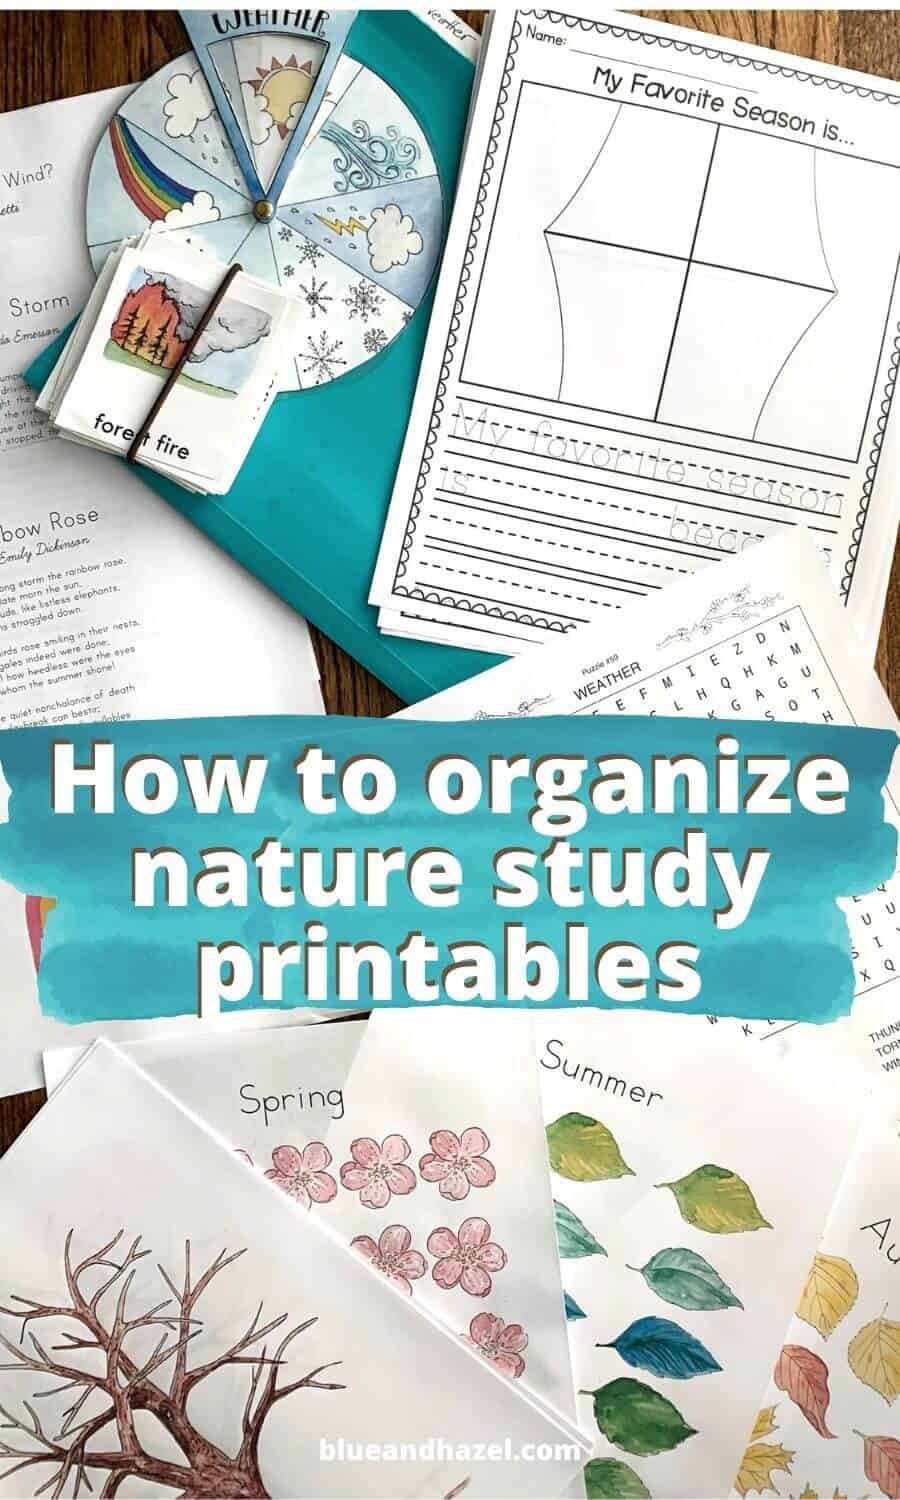
Since I love seeing real photos of how people organize their homeschool spaces, here’s a look at a few of my fuller folders. (A lot of my folders are still blank).
Butterlies
Weather
Bees
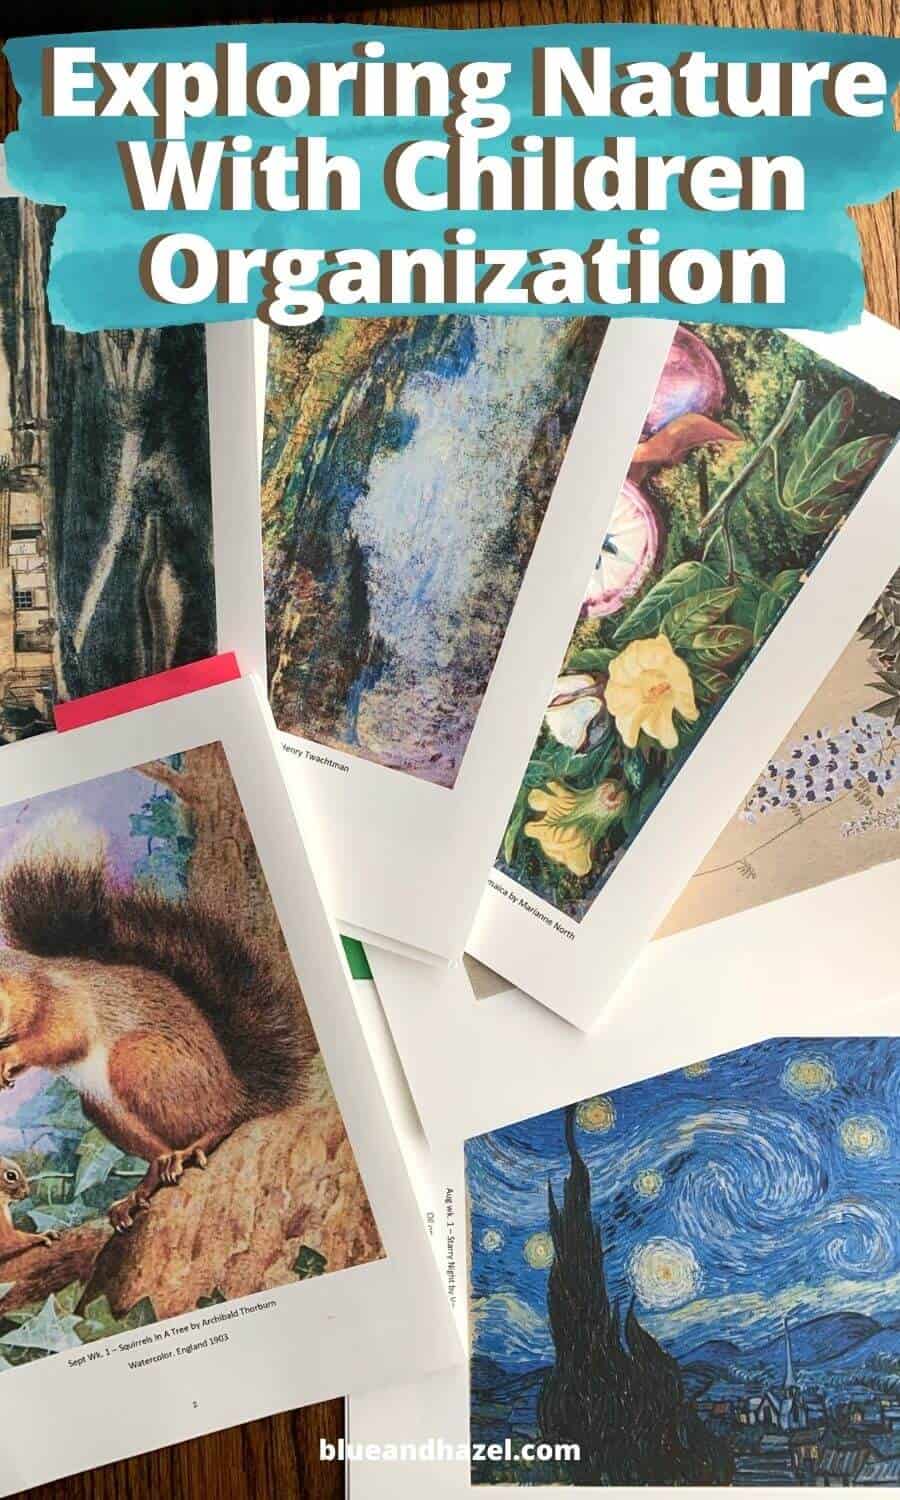
How we store the art/picture study prints that go along with Exploring Nature With Children
Lynn (the creator) has come up with 1 picture artist/picture study for each week (so around 50 paintings). Some people just look it up on the computer screen, but I really like having something physical to hold when it comes to teaching.
Unfortunately that means searching and printing the pictures one at a time unless you can find someone who’s gathered all the pics into a file already. It’s no longer available on the Facebook group Exploring Nature With Children Curriculum Ideas because of copyright issues.
However, whatever means you go by to print the actual photo, you can also store them in this filing system. I may eventually get this bound into a book, but for now they’re in folder with a pink sticky note on the current week’s photo. It’s easy to grab it because it’s in the same location as our other nature study materials.
Just an idea for you!
Also, we don’t do anything special for the picture study other than look at it, read the title and who painted it, and then I ask the kids what they see. That’s all.
If they see 50 of these each year for 10 years, they’ll have a much bigger exposure to art appreciation than I ever had so I’m pleased!
Supplies we use to print our nature study resources
A good colored printer
We purchased a VERY color ink efficient printer. One of the best on the market. It’s my Epson Ecotank 3760. It’s freed me to go hog wild when it comes to printing in color because while the printer was expensive, (around $350) the ink refills are cheap and last for a couple years! I’ve printed SO much this year and barely even touched the ink.
Also, I can print from my phone on the couch…bingo.
High quality paper
I use AstroBright White Cardstock 65lb, and thicker would be fine too but will go up in price. 65 lb cardstock is sturdy, will never show through, and is perfect for a lot of nature items you’d use year after year. For anything else we write on or use only once, I only use cheap printer paper.
A laminator
We use the Amazon Basics laminator and laminating sheets. It was one of the least expensive on the market and works great! I’ve had no issues to complain of. The above link is what I started with, and my general rule for laminating is I only laminate if it’s going to get handled a ton and I want to reuse it year after year.
The main thing is once it’s laminated, it can’t be recycled and is garbage eventually. So I don’t laminate everything…just what I really want to keep nice or if we plan to write on it with dry erase.
What are your favorite resources for nature study?
I’d love to hear any tips and tricks you have (and other readers would too!) for organizing your nature study. How do you make it work in your family? Also, if you enjoyed I’d so appreciate it if you would pin this post for others to find!
Kendra
Friday 5th of February 2021
Ok, so I am 100% on board with you!! I love this post!! I have the same dilemma,.. I LOVE the gorgeous illustrated printables on ETSY, and then they go everywhere... SIGH! Thanks for mapping out organization for me :D I am actually working on a weekly student binder system as well, which is how I found your great posts & site, so I REALLY appreciate your guidance, approach and perspective as I am trying to forge a similar path at the moment. Thanks for mapping it for us busy homeschool moms. High five! :)
Liz
Saturday 6th of February 2021
Kendra SO excited for you to try the filing system for nature printables! No more paper clutter has been the best. Thanks for stopping by!