This last pregnancy I thought…why not try it? My own cool pregnancy silhouette photo, like those dreamy ones you see on Pinterest. So, after taking an embarrassing amount of photos (SO many photos!) and running back and forth to check how each pose looked, here is how I made this DIY maternity silhouette photo by myself. You can too and later on you will be looking back on your bump and SO glad you geeked out enough to try this.
This post contains affiliate links. We are a participant in the Amazon Services LLC Associates Program, an affiliate advertising program designed to provide a means for us to earn fees by linking to Amazon.com and affiliated sites.
How to take a pregnancy silhouette photo
You should be able to do this with whatever camera you own, either a DSLR (what I used), or a smartphone. To make it easiest on yourself, be sure to get a tripod and clicker.
- My Canon Rebel T3i (discontinued), but here is the new Canon Rebel.
- A tripod.
- This timer clicker button from Amazon, which works on tons of camera models all listed in the description on Amazon.
Update: If you plan to take DIY pregnancy photos with your smartphone,(not just silhouette), then I would get a smartphone tripod like the one below. They clamp on to any smartphone!
Then download an app called Photo Timer +. Photo Timer + allows you to take up to 10 photos and choose the time between each photo so you can readjust your pose many times! Huge time saver and money saver if you don’t have a big big DSLR camera. I actually use this app all the time for taking self timer photos for blogging.
How I set up the photoshoot
- Find a window in your house where sunlight comes in and is big enough to fit your silhouette. Preferably a long narrow window where the sun shines directly in. Sadly, the only window that I could use in our basement apartment was a wide window, so it didn’t fit my whole body well.
- Wait to take your photos until the sun is coming in through the window. It will make the most stark contrast that way. Otherwise you may not get the black outline you are wanting.
- Set your tripod with the camera on either self-timer mode ( in which case you will have to do a lot of running back and forth), or, do yourself a favor and get the clicker. I had the clicker hidden in my hand and would just snap a ton of shots before running to check if any turned out.
- After you take 2 or 3 practice shots, you will see how far from the bright window to stand to get the best effect. I found about 1-2 feet from the window was perfect when the sun was shining at its brightest.
- Put a piece of tape down so you can quickly find where to stand each time.
- Thin curtains are key. Having thin, white curtains would be ideal. I tried a thin blanket, but it was too dark. Then I tried closing the blinds, but you could see all the lines from the blinds in the photo so I just used my thin yellow patterned curtains from Target. The blinds were pulled up so all the sun could come in.
Check out my post 10 baby shower gift ideas under $10!
What to wear when taking pregnancy silhouette photos
I wore all black with tight pants and a tight shirt. However, I have seen beautiful ones of mamas in their bra if you are going for that look. You may have to play with the lighting a bit though.
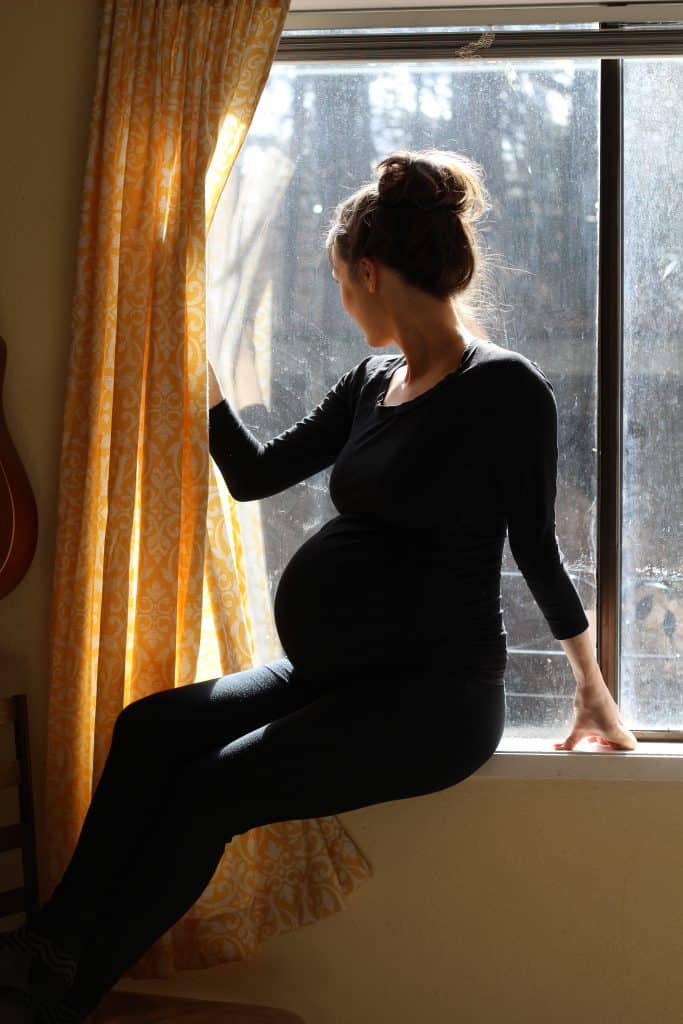
Maternity silhouette poses I used
Tips:
- Stand sideways.
- Bend the front knee closest to the camera to get a curvier profile.
- Hands can go on hips, back, or on the belly.
- Hair up elongates the neck.
Practice and see what you like! This is where I felt like a total dork because I tried SO many slightly different poses. Like how high to put my hands. Or where to put them on my belly. And how far out to put the leg…o the leg! Just practice and see what you like. I think bending the leg closest to the camera is the most flattering.
My unedited maternity silhouette photo:
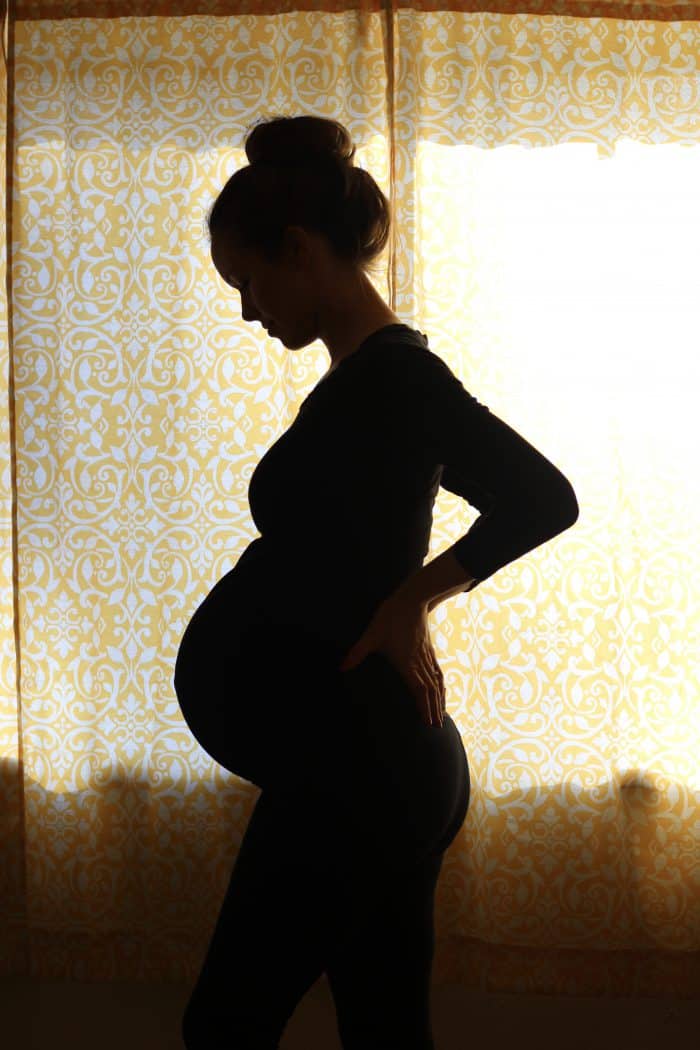
This is the original untouched photo. Blinds pulled up, curtain down, direct sunlight streaming in, and I’m 1-2 feet from the window. I found bending the front knee accentuated the curves the best.
Related Post: Our experience with the Lillebaby Ring Sling
Three silhouette poses. Edited on iPhoto.
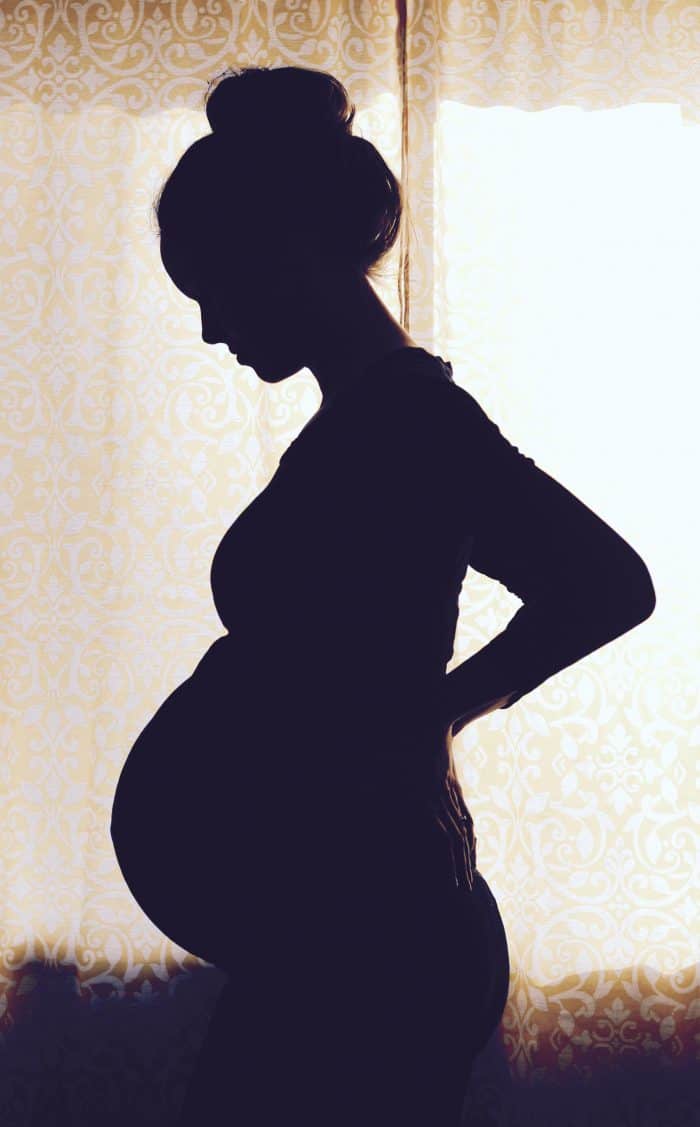
This photo is the same as above but I used the filter called “instant” on my Mac Photo editor. It gave it a hazier less yellow look I liked.
You may also love: What I packed in my hospital bag round 3
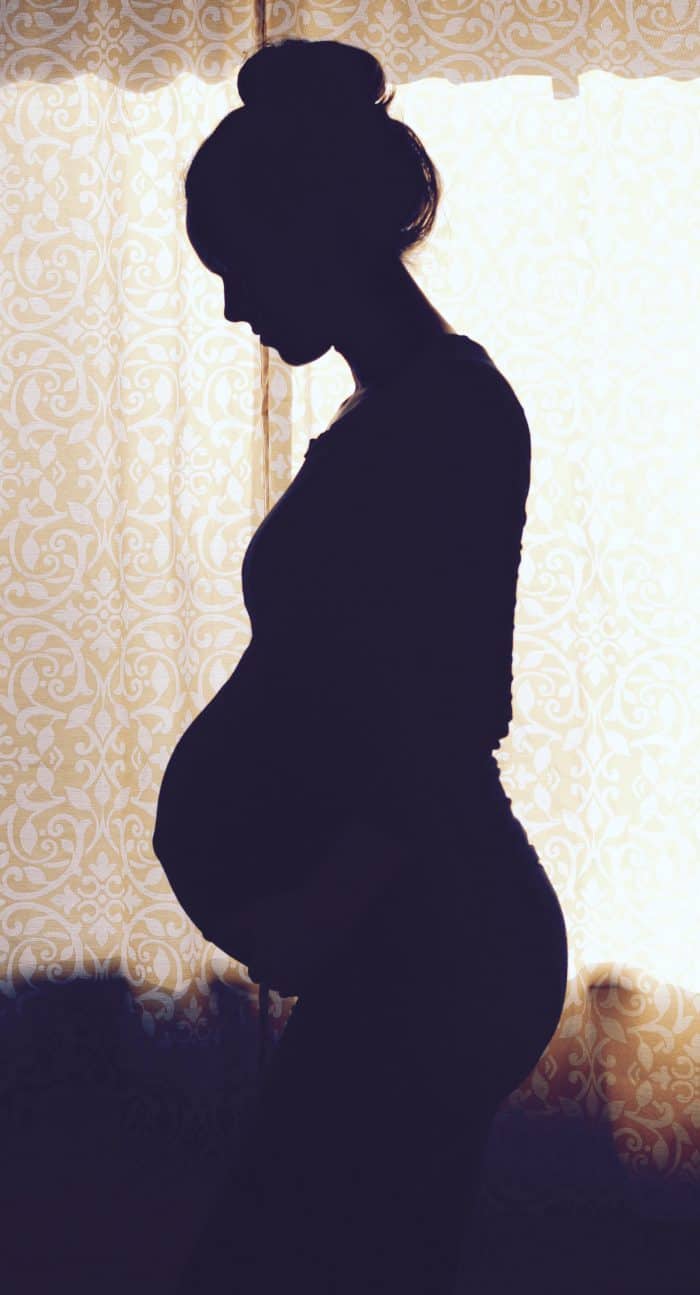
Pose: hands below the belly, front leg bent to accentuate the curves. “Instant” filter applied on mac Photo editor.
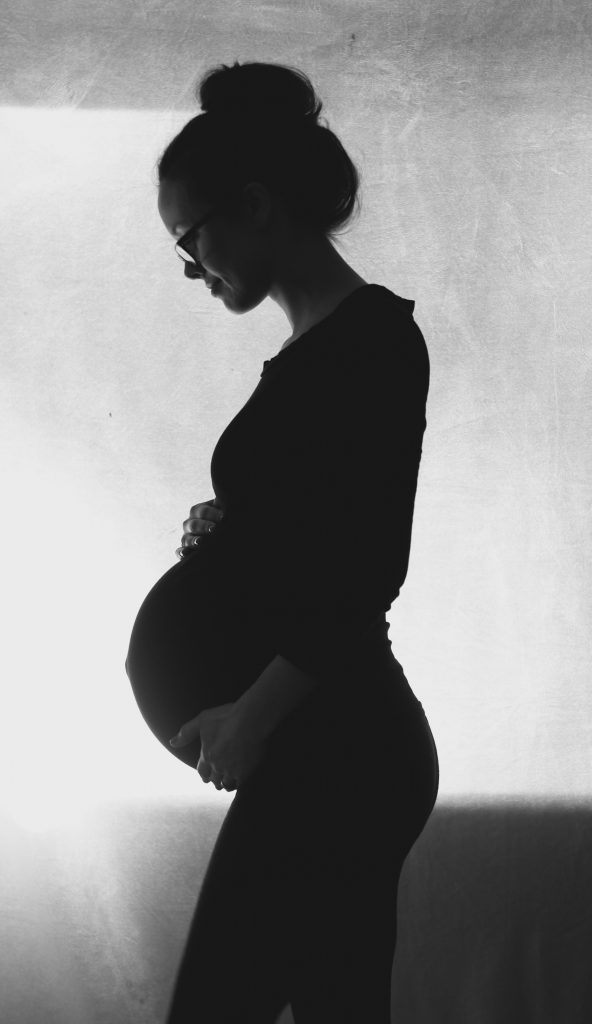
Here is one more simple pose. Hands on belly front arm down, front leg bent. This filter is called “tonal” in mac photo editor. This one I had actually tried a light blanket instead of our yellow curtains.
Overall, taking my own pregnancy silhouette photo was really fun and very simple to do at the right time of day! I’m embarrassed to admit how many photos I took learning this and practicing where to put my hands and which leg to bend though.
I’d make a note of what you like on other peoples silhouettes so that you know what poses to try! And, doing this while kids were napping was a must! Feel free to ask any questions and I would LOVE to know how yours turn out if you try it!
You may also love:
Does an epidural hurt? What to expect before and after birth
Follow Blue and Hazel on Instagram!
SaveSave


Jessica
Tuesday 23rd of April 2019
Hello!! I did this over the weekend and am sooooo happy with how they came out! Thank you for sharing ?
Liz
Wednesday 24th of April 2019
Jessica that's great! You'll have to post a picture to one of the pins on Pinterest so I can see how it turned out! You will be so happy you took the time to snap these pregnancy pics down the road.